Event budgets often list printing as a unit price, yet the real cost arrives as a bundle: paper, trimming time, tape, transport, and the risk that a finished backdrop does not fit the venue. A coordinator who begins with “six sheets wide” has not priced the backdrop. Beginning with the installed width and height in the rasterbator produces a page plan that can be checked against the room and the labour available.
Think about a registration desk, a school fundraiser stage, or a temporary product table. Each has a fixed physical opening and a limited setup window. The person placing the order needs to know whether the artwork fits that opening, how many sheets the team must handle, and which joins will remain visible under venue lighting. Page count matters, but it belongs after the size decision.
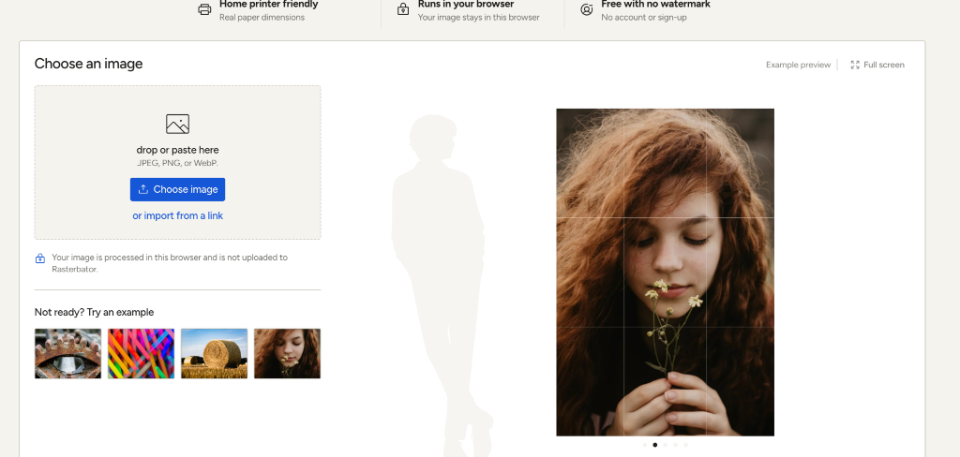
Rasterbator is a free browser-based poster maker with no account or watermark. It can preserve the original image or apply a halftone style, split the result across ordinary paper, and export a tiled PDF plus a Print & assembly guide. For a small event team, its strongest procurement feature is less glamorous: Exact size accepts the final Width and Height, then centres that result inside the smallest complete sheet grid.
Start With The Load In Sheet
Before opening the artwork, read the venue load-in sheet or measure the actual mounting surface. Record the usable width, usable height, access route, and whether tape, pins, clips, or removable strips are permitted. A backdrop that fits the wall but cannot pass through a doorway as an assembled panel still needs a different assembly plan.
Separate Installed Size From Transport Size
The installed rectangle defines the poster. The transport limit defines how much can be assembled in advance. Keep those measurements separate. A 180-centimetre display may fit the wall and still need to travel as three rolled rows or a stack of labeled sheets. Exact size solves the first question; page labels and the joining method help with the second.
Compare Three Ways To Specify The Backdrop
Procurement gets clearer when the team compares instructions rather than tools. The same image can be ordered by a guessed grid, by a print shop's quoted size, or by an exact-size tiled PDF prepared in-house. Each instruction moves uncertainty to a different person.
|
Specification |
What Stays Fixed |
Main Risk |
|
Sheets wide or high |
Page count in one direction |
Finished dimensions only become clear after paper and margins are chosen |
|
Print-shop dimensions |
Quoted final size |
Higher cash cost and less control over late reprints |
|
Exact-size tiled PDF |
Installed Width and Height |
Team must print at 100% and assemble accurately |
The third route does not erase labour. It makes that labour visible before the purchase decision. Once the paper and orientation are selected, the workspace reports page count and paper use. The coordinator can compare the resulting stack with the number of people and minutes available at setup.
Reject Page Guesses That Hide Setup Labour
“It should be around twenty pages” is not a usable handoff. Ask for the finished dimensions, selected paper, joining method, page count, and a copy of the assembly guide. Those five facts let a second person check the plan without recreating the designer's browser session.
A guessed count also hides rework. If the selected orientation produces a stack that volunteers cannot finish during load-in, the team either rebuilds the file or accepts rushed seams. The first export should therefore be treated as a planning document, not as permission to print every page.
Let Exact Size Produce The Paper Plan
In Poster setup, select Exact size and enter both sides of the installed rectangle. Paper size then describes each physical sheet rather than the final backdrop. The tool supports common presets such as A4, A3, A2, US Letter, US Legal, and US Tabloid, along with custom paper dimensions and page orientation.
That separation matters when teams use whatever printer is available. One venue may supply A4; another may have Letter or Tabloid. The backdrop dimensions can remain the same while the sheet grid changes. Rasterbator shows the new paper usage, page count, and effective resolution so the coordinator can decide whether the local printer still makes sense.
Check Effective Resolution At The Camera Distance
Do not treat a large physical size as proof that the image contains enough detail. Read the effective resolution summary after entering the final dimensions. A backdrop viewed from across a room can tolerate less detail than a sponsor panel beside the registration queue. If small logo text turns soft in the preview, a larger paper preset will not repair the source image.
Print one representative sheet that contains the smallest required text. Place it at the expected camera or queue distance and ask a colleague to read it without seeing the source file. Unreadable sponsor terms or venue directions are a reason to revise the artwork, not a reason to make the backdrop larger.
Hand Vendors A Verifiable Print Package
The export should contain the tiled PDF and the Print & assembly guide. The guide records the selected paper, scale, margin, overlap, page order, and finished size. That page is the control document for whoever prints the stack, whether the printer sits in the office, a school copy room, or a local vendor counter.
Ask the printer to use Actual Size or 100%, one-sided printing, the stated orientation, and no Fit, Shrink, or automatic scaling. Print the guide first and measure its corner ruler. If the ruler is wrong, the full backdrop will be wrong by the same proportion. Catching that error on one sheet protects the paper budget and the setup window.
Keep One Approved Guide With The Stack
Mark the measured guide as approved and place it on top of the printed pages. This is the one useful piece of paperwork during load-in. It tells volunteers which method was selected and shows the page map. It also stops a well-meaning helper from reprinting the PDF with “Fit” because a trim mark appears close to the edge.
Choose Poster Joins By The Expected Viewing Distance
For a seamless backdrop, Overlapping edges repeats a strip along adjoining pages and provides alignment marks. Edge-to-edge removes the repeated strip but demands more exact trimming. Framed grid keeps visible panel spacing and can apply the same spacing around the outer border.
A photo wall seen from several metres away may hide careful overlap joins. A sponsor panel photographed at arm's length will expose a crooked seam through a wordmark. In that case, a deliberate framed grid can look more controlled than a failed attempt at invisibility. The correct choice comes from the camera distance and the artwork, not from a universal preference for seamless output.
Never let the joining choice wait until volunteers hold scissors. A discarded corner sheet and a rushed reprint can block the rest of the assembly because each label has one position in the map. Put the approved method on the load-in sheet and keep it with the guide.
Approve The Backdrop From Dimensions And Labour
A purchase order for a temporary backdrop should name the installed width and height, paper, page count, joining method, and responsible assembler. Those fields turn a vague printing expense into a plan that the venue and the setup team can verify.
The rasterbator route fits small events when ordinary paper, on-site reprints, and a measured wall opening matter more than a one-piece professional finish. Rasterbator gives the buyer a precise physical target and a transparent sheet plan. The buyer still has to price trimming and assembly honestly.
That is the practical advantage of Exact size. The event does not inherit a poster size from an arbitrary page count. The team fixes the space first, sees the paper and labour consequences, and approves the backdrop with fewer surprises at load-in.